Linking via Shopify
You can integrate any Shopify site with Bill, follow these steps
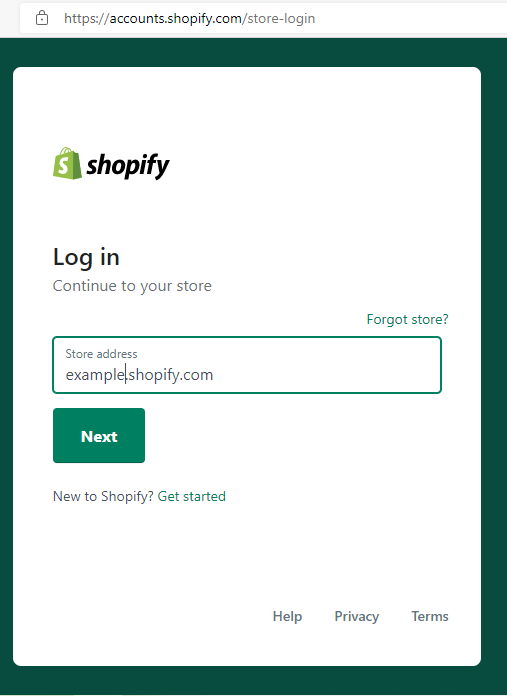
Step #1: Access to administrator control panel
-
Go to your website and Login to your account
Step #2: Create a manual payment method
-
From your shopify admin, go tosettings > payments.

-
In the payment providers select section create payment method.

-
Fill out the form with the following data:
- Enter the payment method address in a field, for example: pay online using my Bill.
- Enter the information in additional details field, For example: You can pay after you complete order on Thank you page You will find a Pay Now button, use it to pay online.
- Enter the information in payment instructions field , for example: just use card balance to be paid very easy.

-
Click activate payment method button.
Step #3: Edit payment options
-
From shopify admin, go to settings > payment.

-
In order processing find additional scripts , then add the following code, click Save
<script type="text/javascript">
var api_data = "82e4b4fd3a16ad99229af9911ce8e6d2";
var invoice_id = ("{{ order_name }}").replace('#','');
var apiKey = " Customer Api-Key in Bill";
var total = {{ total_price}} / 100;
var currency = "USD";
var inv_info = [{"row_title":"Tax","row_value":"2"},{"row_title":"Delivery","row_value":"1"},{"row_title":"Capon","row_value":1},{"row_title":"Discount","row_value":0}];
var userName = "{{ billing_address.name }}";
var return_url = " Api Link Path";
var email = "{{email}}";
var mobile = "{{ shipping_address.phone}}";
var url ='https://crosspayonline.com/api/createInvoiceByAccount?api_data='+api_data+'&invoice_id='+invoice_id+'&apiKey='+apiKey+'&total='+total+'¤cy='+currency+'&inv_details={"inv_items":[{"name": " Shoping From Store","quntity": "1","unitPrice": "'+total+'","totalPrice": "'+total+'","currency": "USD"}] ,"inv_info":'+inv_info+', "user" :{"userName":'+userName+'} }&return_url='+return_url+'&email='+email+'&mobile='+mobile+'&invoice_id='+invoice_id+'&name='+userName;
window.location.href = url;
</script>

Be Attention!
Don't forget set the token value in the data loaded in the code
Step #4: Create a completion page (Success, Fail)
When your client completes the payment, CrossPay Onlinegateway will redirect to the default CrossPay Onlinesuccess | failure page, If you pass success_url | failure_url at requesting Standard Checkout API, CrossPay Onlinewill redirect after 2 seconds to the (success | failure) page. In this step we will create the two pages to get the URL of the success and failure page.
-
From shopify admin, go to Online Store > Pages.
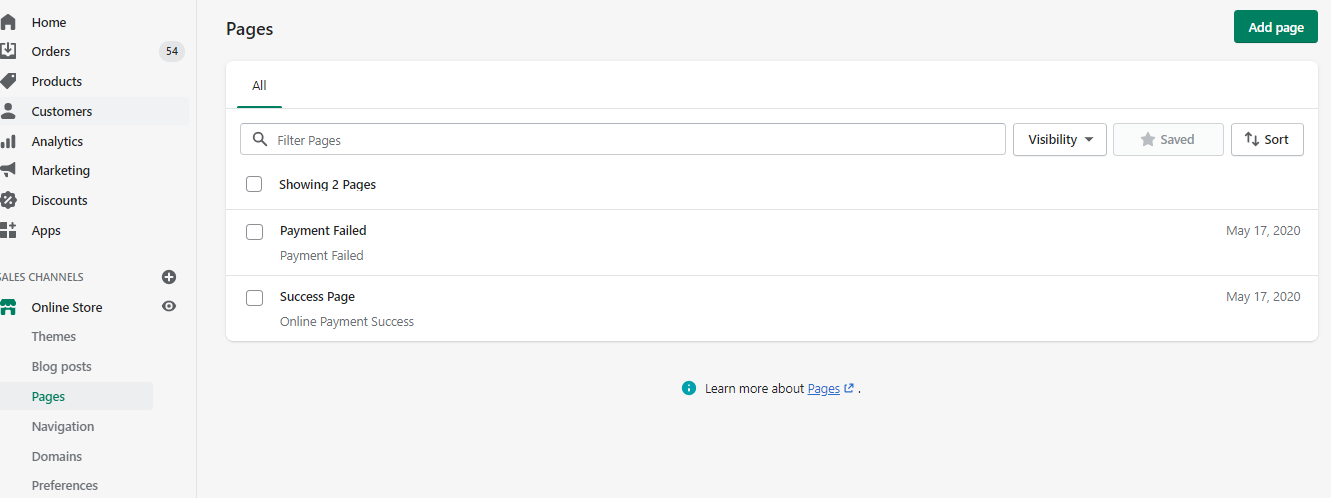
-
Click on the Add New Page button.
-
Enter the title of your page (success page) and its content.
-
Click on save.
-
Return the same steps to add the Failure page .
-
Provide your CrossPay Onlineaccount with the URL of these two pages to redirect to one of them after payment completion.تمام الدفع.
Create Apps for your Shopify store
You can install Shopify apps to help you build your business, integrate with services, and add features to your Shopify admin. We create an app here to update order status after successful payment completion. Following these steps to do that:
-
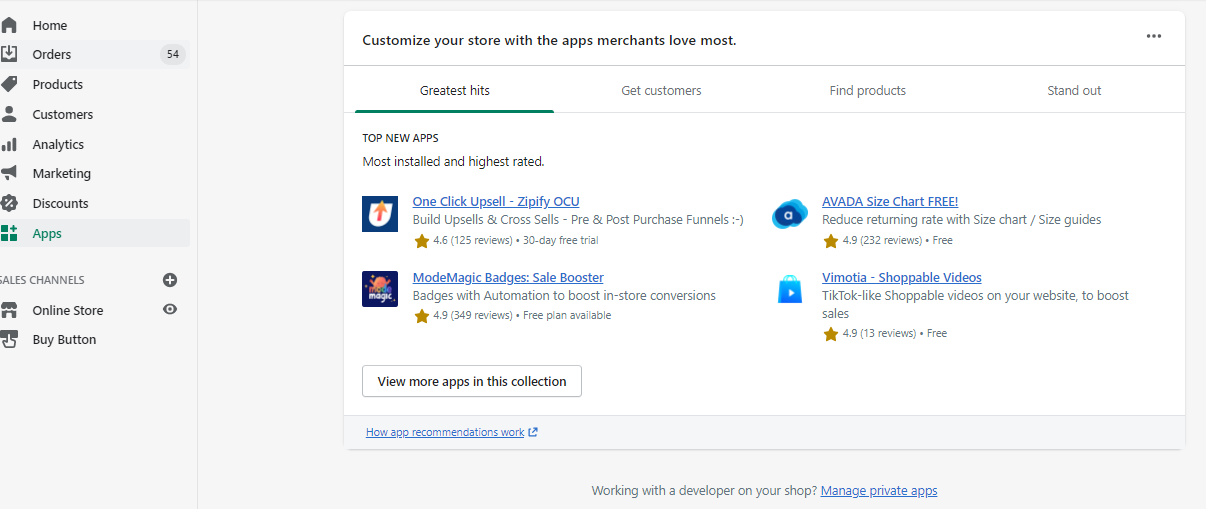
From your Shopify admin, go to Apps.
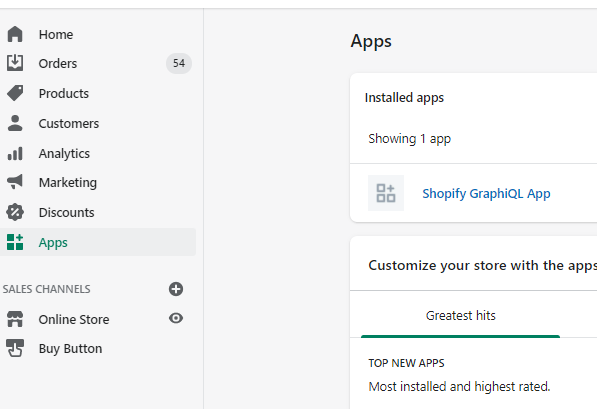
-
click on manage private apps.
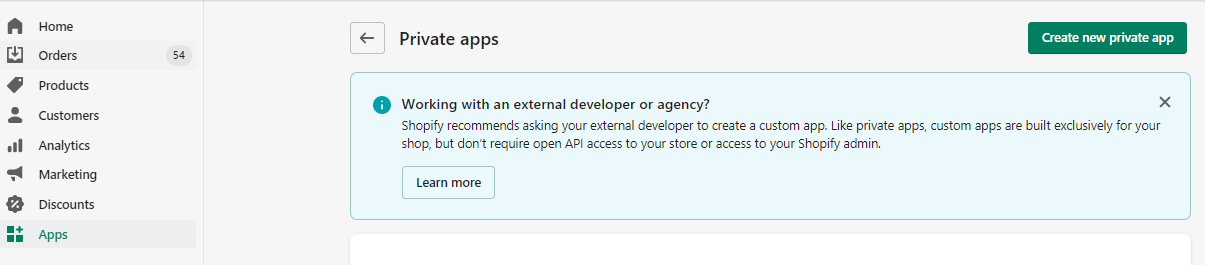
-
click on Create new private app.
-
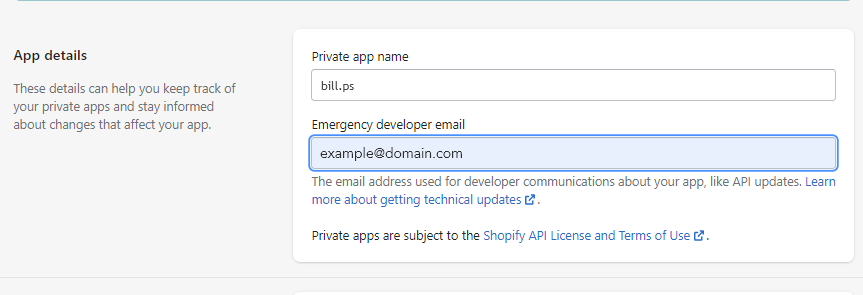
In App details section::
- Enter the title of private app name e.g: CrossPay Online
- Enter the emergency developer email e.g: [email protected]
-
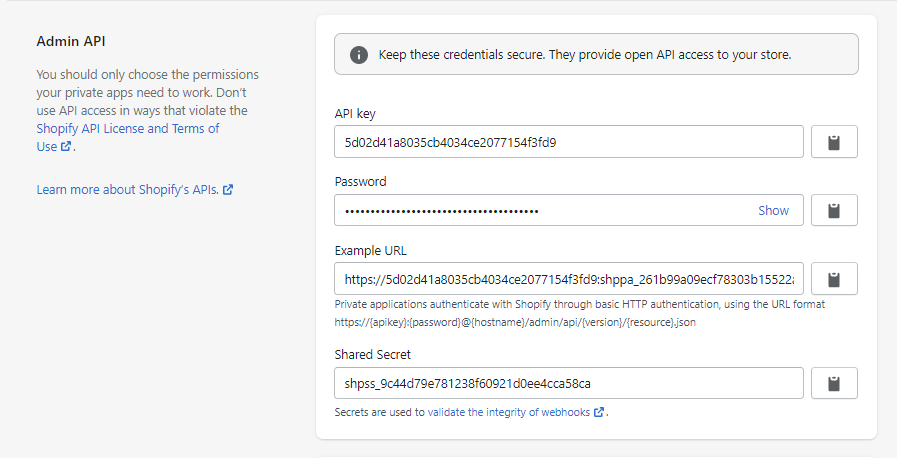
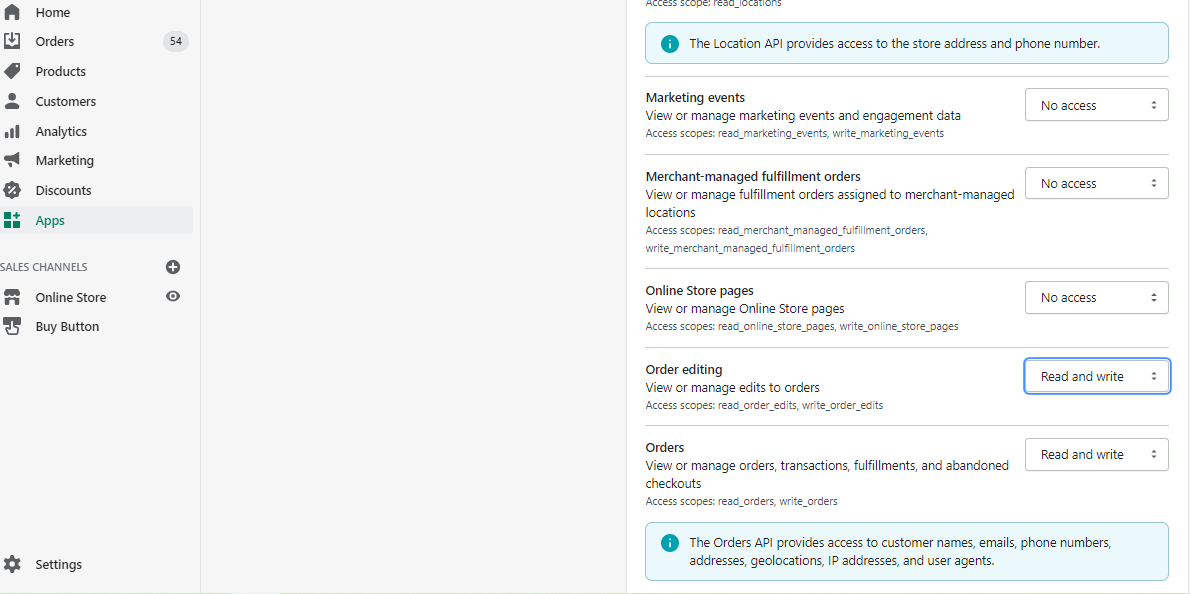
In the Admin API section Show inactive Admin API permissions to give the app the right permissions for the orders.
-
Click savethen click Create private app

-
Provide CrossPay Onlineintegration engineer with domain e.g: https://shopename.myshopify.com, and password